Step-by-Step: Adding Subtitles to Your YouTube Videos
Subtitles can greatly enhance the accessibility and reach of your YouTube videos by making them more inclusive to a wider audience. They provide the ability to understand the content of your videos even if the audio is not clear or if someone is watching without sound. In this tutorial, we will guide you through the process of adding subtitles to your YouTube videos.
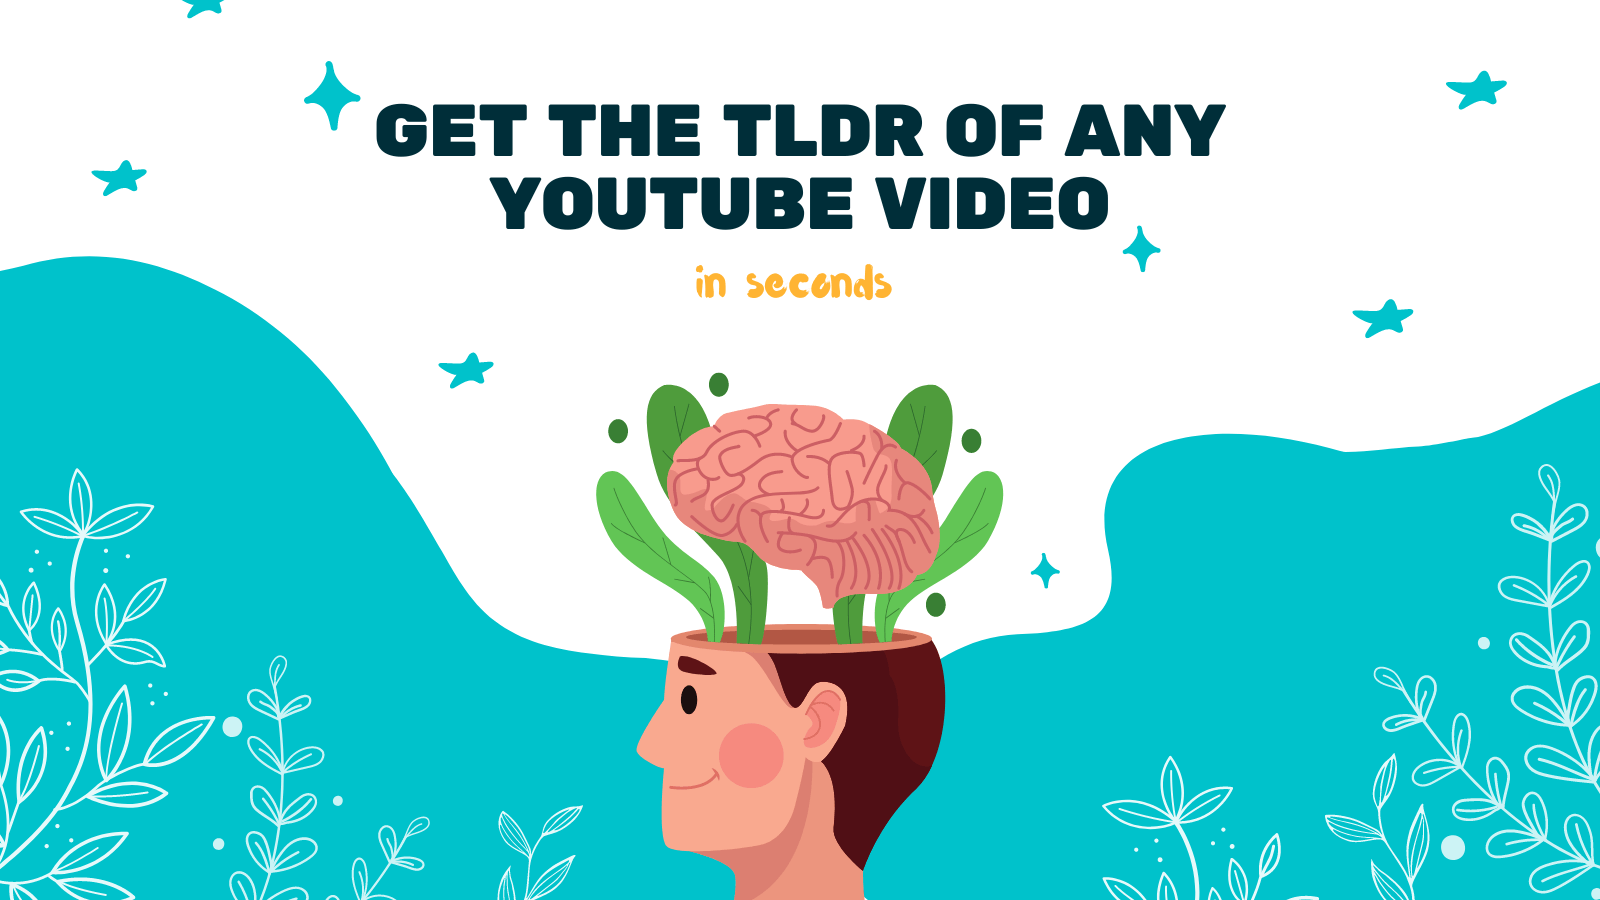
But first, let us introduce you to an excellent tool called YOU-TLDR. This web app is designed to help you effortlessly summarize, download, search, and interact with YouTube videos in your language. You may find YOU-TLDR helpful for creating accurate subtitles and transcriptions. Visit their website at https://www.you-tldr.com to explore the features they offer.
Now, let's dive into the step-by-step process of adding subtitles to your YouTube videos:
1. Sign in to Your YouTube Account
Open your web browser and navigate to YouTube. Sign in to your YouTube account using your Google credentials. If you don't have an account, you will need to create one before proceeding.
2. Go to Creator Studio
Once you are signed in, click on your profile icon in the top-right corner of the YouTube homepage. From the dropdown menu, select "Creator Studio." This will take you to the Creator Studio dashboard.
3. Navigate to Video Manager
In the left sidebar of the Creator Studio dashboard, click on "Video Manager." This will display a list of all your uploaded videos.
4. Select the Video to Add Subtitles
Locate the video to which you want to add subtitles and click on the "Edit" button next to it. This will open the video editing page.
5. Access the Subtitles/CC Tab
In the top navigation menu of the video editing page, click on the "Subtitles/CC" tab. This is where you can manage your subtitles and closed captions.
6. Add New Subtitles
Under the "Subtitles/CC" tab, click on the "+ Add new subtitles or CC" button. A dropdown menu will appear.
7. Select Language
Choose the language of your subtitles from the dropdown menu and click on the "Set language" button.
8. Create New Subtitles
YouTube provides three options for creating subtitles: "Transcribe and auto-sync," "Create new subtitles or CC," and "Upload a file." Choose the option that suits you best. If you prefer to manually create subtitles, select "Create new subtitles or CC."
9. Manually Add Subtitles
In the subtitle editing interface, you will see the video play with a textbox below it. Play the video and type in the subtitles as you hear the audio. Make sure to synchronize the timing of your subtitles with the video content.
10. Save and Publish
After completing the subtitle creation, click on the "Publish" button to save and publish your subtitles. You can also choose to save them as a draft if you want to make further adjustments before publication.
Congratulations! You have successfully added subtitles to your YouTube video. Now, viewers will be able to enjoy and understand your content even if they can't hear the audio or speak your language.
Remember, accessibility and inclusivity are essential to reach a wider audience, and subtitles play a crucial role in achieving that goal. Use tools like YOU-TLDR or manually create subtitles on YouTube to ensure your videos are accessible to as many people as possible.
So, what are you waiting for? Start adding subtitles to your YouTube videos and make a positive impact on your audience!
Unlock the Power of YouTube with YOU-TLDR
Effortlessly Summarize, Download, Search, and Interact with YouTube Videos in your language.
Related Articles
- Translate from Polish to English: Unlocking a Multilingual World
- Transcripciones de Videos de YouTube: Beneficios y Herramientas
- The Versatility of English-to- Translation
- Adding Captions for Foreign Language YouTube Videos
- Closed Captioning on YouTube TV: Everything You Need to Know
- Transcribir Video de YouTube: Beneficios y Técnicas
- Closed Captioning: Adding Accessibility to Your YouTube Videos
- Simplify Your Workflow with YouTube Upload Captions
- Choosing the Right Polish to English Translator