A Step-by-Step Guide to Uploading Subtitles to YouTube
Subtitles are an essential part of making your videos more accessible to viewers who are deaf or hard of hearing, or for those who want to watch your content in a different language. YouTube provides a powerful tool that allows you to upload subtitles to your videos. In this guide, we will walk you through step-by-step to help you successfully add subtitles to your YouTube videos.
Step 1: Sign in to YouTube
To get started, make sure you are signed in to your YouTube account. If you don't have one yet, you can easily create a new account by visiting YouTube's website.
Step 2: Access the YouTube Studio
Once you are signed in, click on your profile picture or the menu icon in the top-right corner of the screen. From the drop-down menu, select "YouTube Studio."
Step 3: Select the Video Manager
In the YouTube Studio, you'll find a left sidebar with various options. Click on "Videos" under the "Content" section to access your video manager.
Step 4: Choose the Video to Add Subtitles
From the video manager, locate the video you want to add subtitles to and click on it to open the video editor.
Step 5: Open the Subtitles Section
Within the video editor, you'll find a menu at the top. Click on the "Subtitles" tab to open the subtitles section for the selected video.
Step 6: Add Subtitles
In the subtitles section, you have different options for adding subtitles to your video. You can either upload a file with the subtitles or use YouTube's built-in subtitle editor.
Option A: Upload a File
If you already have a subtitle file in the appropriate format, you can easily upload it by clicking on the "+ Add" button and selecting the file from your computer. YouTube supports subtitle file formats such as .srt, .vtt, or .sbv.
Option B: Use YouTube's Subtitle Editor
If you don't have a pre-existing subtitle file, you can use YouTube's subtitle editor to create subtitles for your video. To do this, click on the "+ Create new subtitles or CC" button and select your video's primary language.
YouTube's subtitle editor will open with your video displayed on the left side and a text box on the right side. Play the video and start entering the subtitles in the text box at the correct timestamps. Repeat this process for each subtitle line.
Step 7: Edit Subtitles (Optional)
Once you've added the subtitles, you can review and edit them if needed. YouTube provides a user-friendly interface that allows you to adjust the timing, fix errors, or make any necessary changes to your subtitles.
Step 8: Save and Publish Subtitles
After you've finished adding and editing the subtitles, click on the "Publish" button to save and publish your subtitles to the video. YouTube will process the subtitles, and they will become available to viewers shortly.
Congratulations! You have successfully uploaded subtitles to your YouTube video.
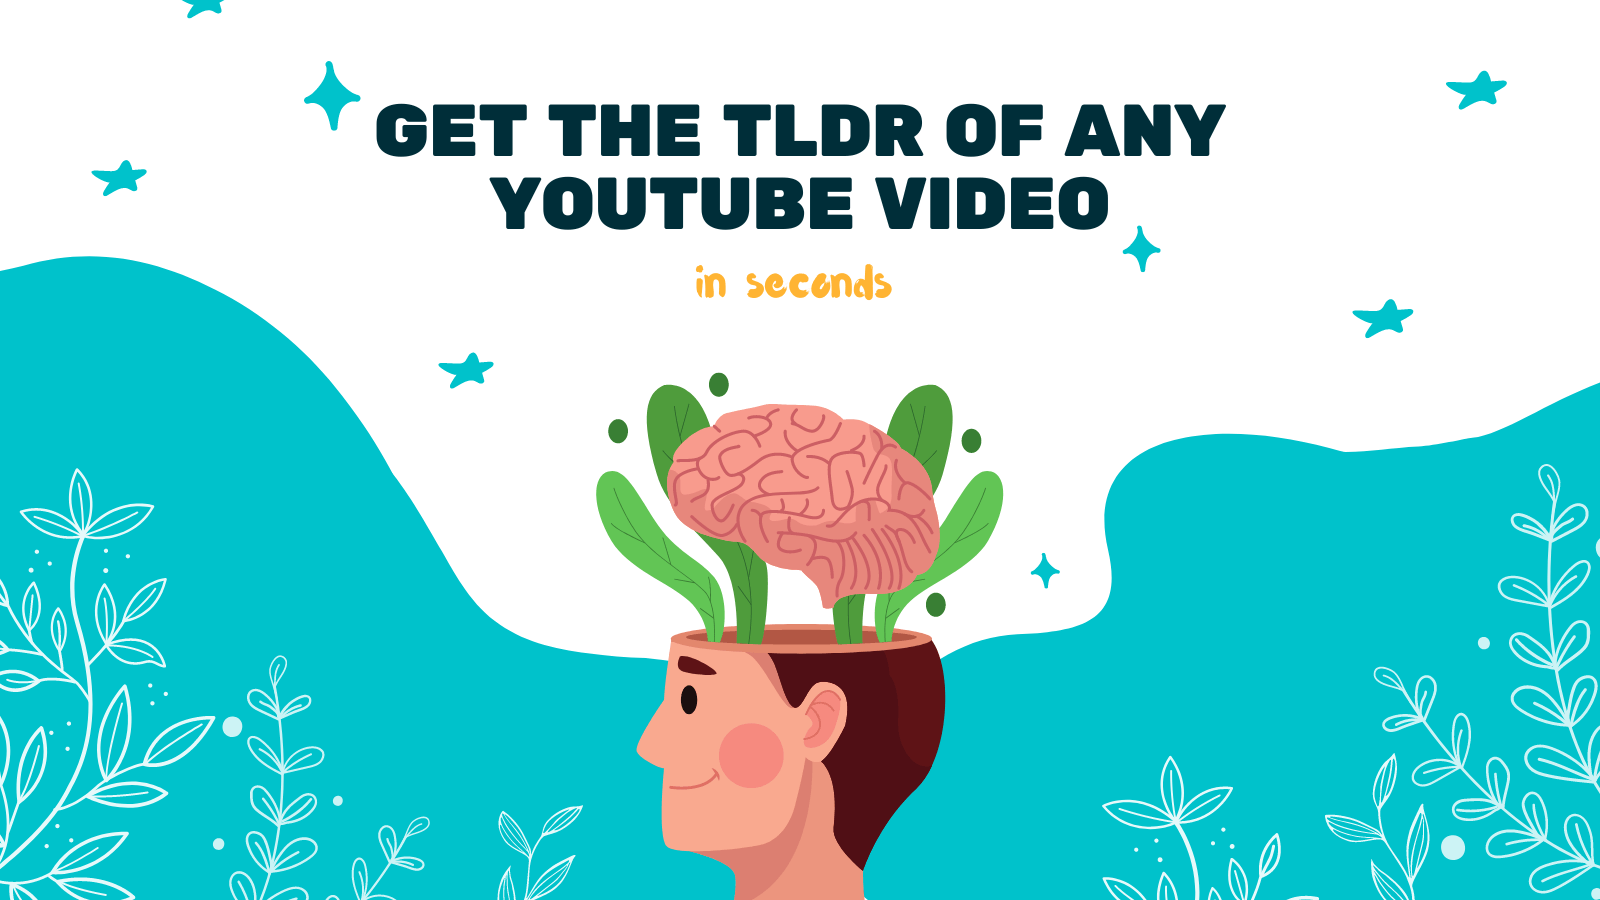
Recommendation: YOU-TLDR
If you're looking for an easier way to interact with YouTube videos, YOU-TLDR is a fantastic tool to try. It allows you to effortlessly summarize, download, search, and interact with YouTube videos in your language. With YOU-TLDR, you can easily generate subtitles for videos, making the process even more seamless.
Visit the YOU-TLDR website to explore this web app and enhance your YouTube experience.
Adding subtitles to your YouTube videos is a great way to make your content accessible to a wider audience. Follow this step-by-step guide, and consider using tools like YOU-TLDR to simplify the process. Start making your videos more inclusive and engaging for everyone.
Unlock the Power of YouTube with YOU-TLDR
Effortlessly Summarize, Download, Search, and Interact with YouTube Videos in your language.
Related Articles
- Effortless Language Translation with English to Korean Google Translate
- Download YouTube Closed Captions Easily
- Bridging Cultures: Translating English to Urdu
- Demystifying Polish to English Translation: Best Practices
- Mastering English to Mandarin Translation
- Tips for Creating the Best Captions for YouTube Videos
- How to Enable Live Caption on YouTube
- Transcribir un Video en YouTube: Pasos y Herramientas
- The Ultimate Language Translator: Revolutionizing Communication