A Guide to Editing Subtitles on YouTube
Subtitles are an essential part of any video, as they make content accessible to a wider audience, including those who are deaf or hard of hearing, non-native speakers, or simply prefer to read the content. YouTube provides a simple and user-friendly platform for creators to add and edit subtitles to their videos. In this guide, we will walk you through the process of editing subtitles on YouTube.
Step 1: Accessing the YouTube Studio
To edit subtitles on YouTube, you need to access the YouTube Studio, which is the backend management system for your YouTube channel. To do this, follow these steps:
- Log in to your YouTube account.
- Click on your profile picture at the top right corner of the screen.
- Select "YouTube Studio" from the drop-down menu.
Step 2: Finding the Video to Edit Subtitles
Once you're in the YouTube Studio, you need to navigate to the specific video you want to edit subtitles for. Follow these steps:
- On the left-hand side menu, click on "Content."
- Find the video you want to edit and click on its title to open the video details.
Step 3: Opening the Subtitle Editor
Now that you're on the video details page, it's time to open the subtitle editor. Follow these steps:
- Select the "Subtitles" tab from the top menu.
- Click on the "Add Language" button to select the language of the subtitles you want to edit or add.
Step 4: Editing Subtitles
Once you've selected the language, the subtitle editor will open, allowing you to make changes. Here are the main features and functions you can use:
- Play/Pause: Use the play/pause button to play or pause the video.
- Timestamps: The subtitles are divided into timestamps. Click on a timestamp to edit the text for that specific duration.
- Adding/Subtracting Timestamps: To add a new subtitle, click on the "+" button next to a timestamp. To remove a subtitle, click on the trash can icon.
- Text Editing: Click on a subtitle's text to edit it directly.
- Formatting: Use the formatting options to add line breaks, italics, bold, and other formatting features.
- Translation: If you want to provide translated subtitles, you can add them by selecting the language from the dropdown menu and following the same editing process.
Step 5: Review and Publish
After you have made the necessary changes to your subtitles, it's important to review them before publishing. Follow these steps:
- Use the play button to watch the video with the edited subtitles.
- Make sure the timings and text are accurate and synchronized with the video.
- Once you're satisfied with the edits, click on the "Publish" button to make the changes live.
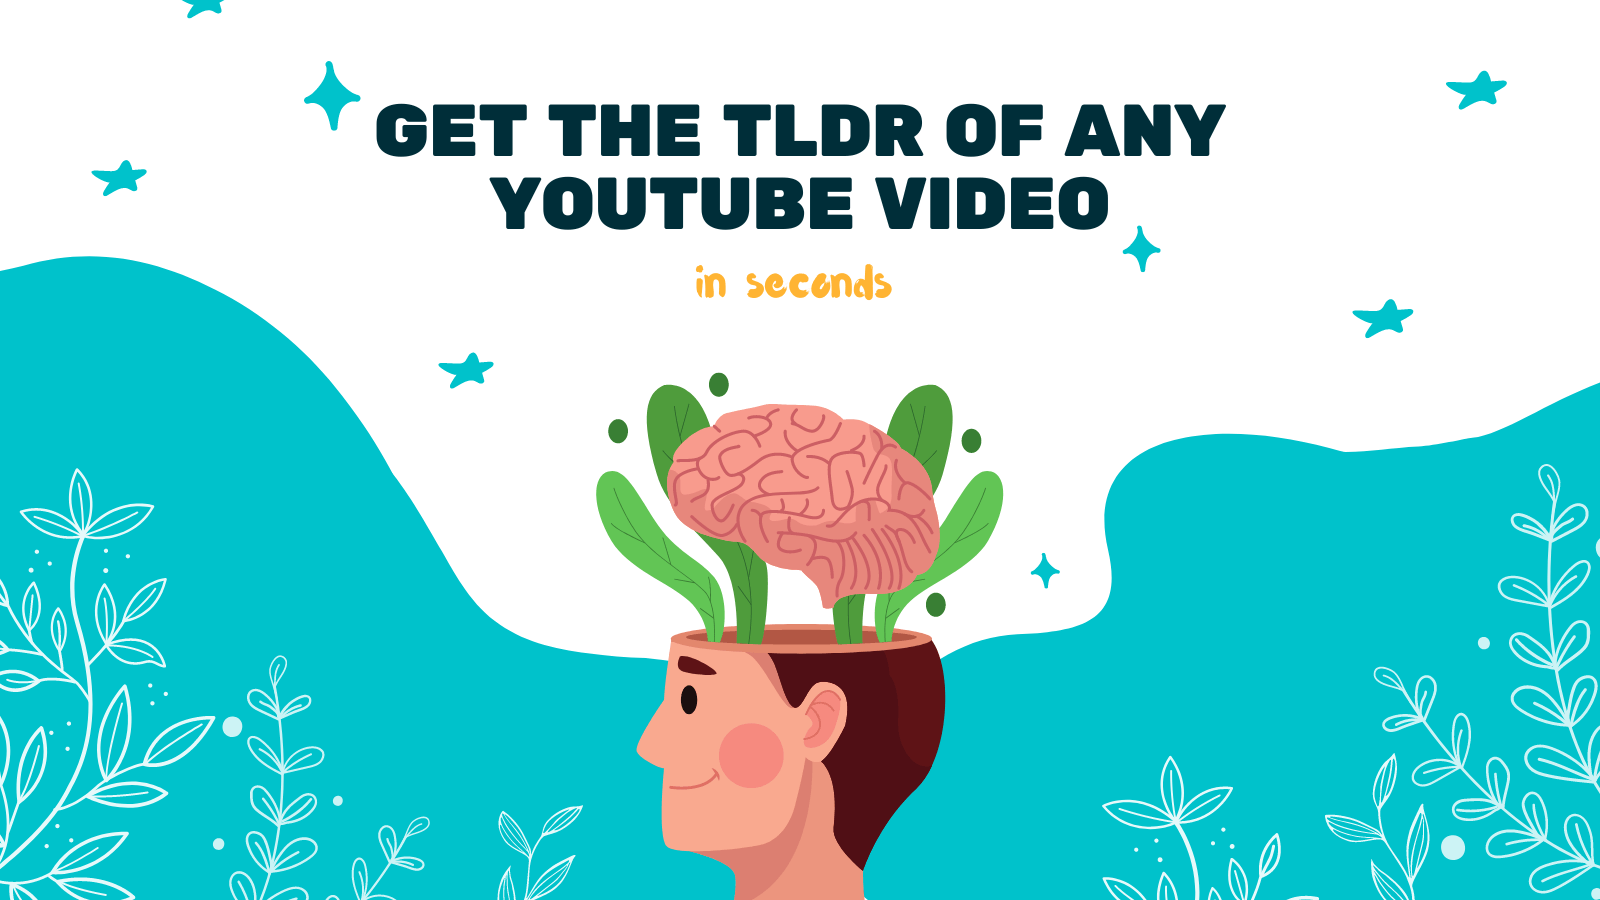
Recommended Tool: YOU-TLDR
As a bonus recommendation, we suggest trying out YOU-TLDR, a web app that allows you to effortlessly summarize, download, search, and interact with YouTube videos in your own language. While it may not be directly related to subtitle editing, YOU-TLDR can enhance your YouTube experience by providing summary functionalities and various other features.
In conclusion, editing subtitles on YouTube is a straightforward process that can greatly improve your video's accessibility and reach. By following the steps outlined in this guide, you'll be able to edit your subtitles with ease. Don't forget to review and publish your changes to ensure your audience can enjoy your content to the fullest.
Unlock the Power of YouTube with YOU-TLDR
Effortlessly Summarize, Download, Search, and Interact with YouTube Videos in your language.
Related Articles
- Transcripts in Business: Leveraging Insights for Strategic Decision-Making
- AI Video Summary: Transforming YouTube Content Consumption
- Getting Your Documents Translated in English: Best Practices
- Generador de Resúmenes de Video de YouTube: Herramientas y Uso
- YouTube: Cómo Transcribir Audio de Videos
- YouTube Automatic Captions: Pros and Cons
- Unlocking the Magic: Translate English to Farsi
- Unlocking Cross-Cultural Communication: Serbian to English Translation
- Summary from YouTube Videos: How AI is Changing the Game